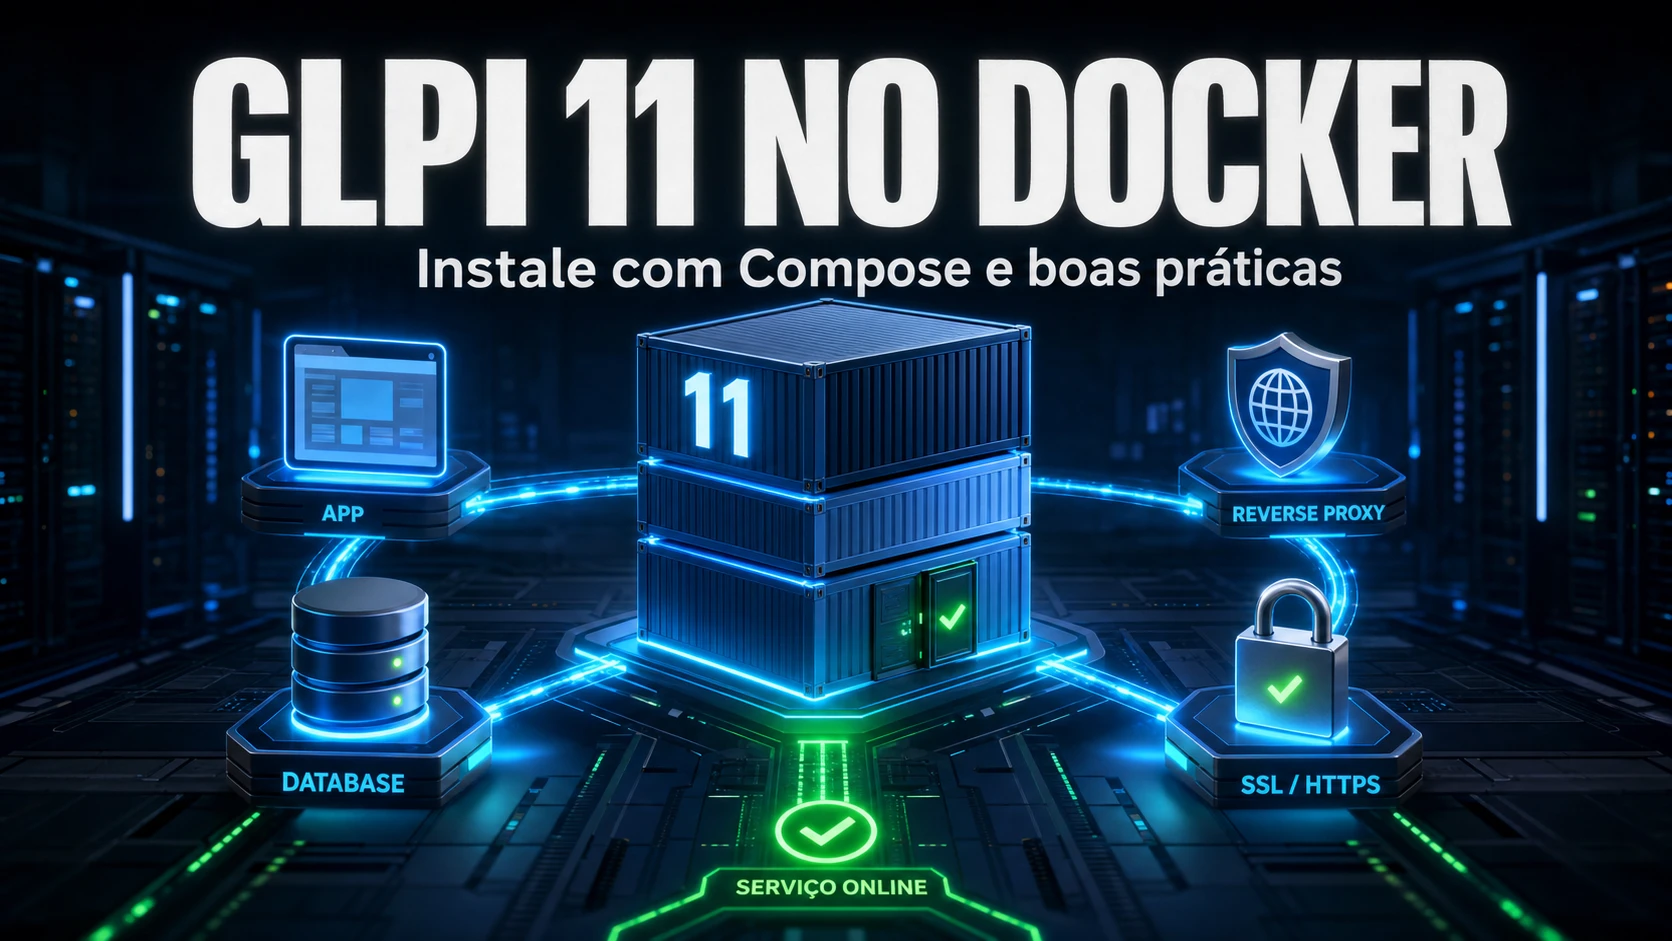
Docker is the fastest, most reproducible way to bring up GLPI 11. In under 10 minutes you get MariaDB, persistent volumes and a production-ready environment. But the difference between a lab you throw away and a GLPI that survives a docker compose up -d --force-recreate comes down to one thing: which data you persisted. In production support, that is always what separates "I recreated the container" from "I lost GLPI".
Prerequisites
- Linux server (Debian 12, Ubuntu 22.04+ or AlmaLinux 9).
- Docker Engine 24+ and Docker Compose v2.
- Minimum 2 GB RAM and 20 GB disk.
- Domain pointing to the server (required for SSL).
1. The five volumes that decide everything
Before the compose file, understand what must survive the container lifecycle. These are the paths we persist on every GLPI in Docker we stand up:
| Volume (host - container) | What it holds | Losing it means |
|---|---|---|
| /opt/glpi/db - /var/lib/mysql | The whole database | Losing every ticket and asset |
| /opt/glpi/config - /etc/glpi | config_db.php, encryption key, local_define | GLPI comes back asking to reinstall |
| /opt/glpi/data - /var/lib/glpi | Files, dumps, sessions, uploads | Losing attachments and active sessions |
| /opt/glpi/plugins - .../plugins | Manually installed plugins | Reinstalling plugin by plugin |
| /opt/glpi/marketplace - .../marketplace | Plugins downloaded from the Marketplace | Re-downloading everything from the Marketplace |
Create the directory structure:
mkdir -p /opt/glpi/{data,config,plugins,marketplace,db}2. Secrets in .env, never in the compose
A password hardcoded in docker-compose.yml ends up committed to some git one day. Isolate the secrets in a .env next to the compose file and do not version that file:
# .env - sits next to the compose and does NOT go to git
MARIADB_ROOT_PASSWORD=change-to-a-strong-password
MARIADB_PASSWORD=change-to-another-strong-password
3. docker-compose.yml
Note two safeguards: the MariaDB tag is pinned (never latest, which can jump a major and break) and the passwords come from .env:
services:
  glpi-db:
    image: mariadb:10.11
    container_name: glpi-db
    restart: unless-stopped
    environment:
      MARIADB_ROOT_PASSWORD: ${MARIADB_ROOT_PASSWORD}
      MARIADB_DATABASE: glpi
      MARIADB_USER: glpi
      MARIADB_PASSWORD: ${MARIADB_PASSWORD}
    volumes:
      - /opt/glpi/db:/var/lib/mysql
    command: --character-set-server=utf8mb4 --collation-server=utf8mb4_unicode_ci

  glpi:
    image: glpi/glpi:11.0
    container_name: glpi-app
    restart: unless-stopped
    ports:
      - "127.0.0.1:8080:80"
    depends_on:
      - glpi-db
    volumes:
      - /opt/glpi/data:/var/lib/glpi
      - /opt/glpi/config:/etc/glpi
      - /opt/glpi/plugins:/var/www/glpi/plugins
      - /opt/glpi/marketplace:/var/www/glpi/marketplace
Notice the port is published on 127.0.0.1:8080, not 0.0.0.0: what talks to the internet is the reverse proxy, not the container.
4. Bring it up and install via console
Start the services and wait for the database to initialize:
docker compose up -d
docker compose logs -f glpi
Instead of the web wizard, install from the CLI - it is reproducible and removes the manual browser step:
docker exec -it glpi-app php bin/console glpi:database:install --db-host=glpi-db --db-name=glpi --db-user=glpi --db-password="${MARIADB_PASSWORD}" --default-language=en_GB --no-interactionThen remove the installer for safety:
docker exec -it glpi-app rm -f /var/www/glpi/install/install.php5. The cron: the crontab-inside-the-container mistake
Here lives the trap we see most in the field. A common instruction is "run crontab inside the container", but the GLPI image is ephemeral: a crontab written in there dies on the next up -d. And GLPI 11 does not even depend on it - the automatic trigger is done by calling the cron from the command line. The sustainable way is to schedule on the host, calling the container:
# host crontab - fires the GLPI cron every minute
* * * * * docker exec -u www-data glpi-app php /var/www/glpi/front/cron.php >/dev/null 2>&1
With cron on the host, the schedule survives container recreations. The symptom of forgetting it is classic: notifications that never leave, SLA that never escalates and a queue that looks "stuck" for no clear reason - all because the automatic tasks never run.
6. Reverse proxy with SSL
In production, never expose GLPI directly on port 80. Put a reverse proxy (Nginx Proxy Manager, Traefik or manual Nginx) with a valid certificate in front:
server {
    listen 443 ssl;
    http2 on;
    server_name glpi.yourcompany.com;

    ssl_certificate     /etc/ssl/certs/glpi.crt;
    ssl_certificate_key /etc/ssl/private/glpi.key;

    location / {
        proxy_pass http://127.0.0.1:8080;
        proxy_set_header Host $host;
        proxy_set_header X-Real-IP $remote_addr;
        proxy_set_header X-Forwarded-Proto $scheme;
    }
}
7. First access and default passwords
Open https://glpi.yourcompany.com and log in with the default accounts: glpi/glpi (admin), tech/tech, normal/normal and post-only/postonly. Change or disable all of them immediately - these credentials are public knowledge and a day-one scanner already tests them.
The pitfall that most often takes GLPI down in Docker
In production support, the number one incident with GLPI in Docker is not the database: it is recreating the container without persisting /etc/glpi. When that happens, GLPI loses config_db.php and comes back to the install screen as if it were the first time - with the database intact next door. The user swears "Docker wiped GLPI"; in reality the container just no longer knows where the database is. That is why, before any up -d --force-recreate, our checklist verifies the five volumes from the table are mounted. It is one minute that saves a Sunday of recovery.
Production best practices
- Automatic backup of
/opt/glpi/dband/opt/glpi/data(the database and the attachments). - Pin the image tags (database and GLPI); upgrade consciously, never via
latest. - Configure SMTP for notifications and confirm the host cron is running.
- Install plugins via the Marketplace (Setup > Plugins) and confirm they land in the persisted volume.
Next step
With GLPI live, configure SLA and OLA, build the service catalog and evaluate the NexTool modules. If you would rather have it sustained by people who do this every day, talk to the team.
Reviewed by the NexTool Solutions team.